Showing posts with label DIY. Show all posts

Tuesday, July 30, 2013

DIY Chocolate-Nutty Raw Bars

These bars are simply delicious, raw, healthy and protein-packed.   I like to make a batch on Sunday, and then I get 8 on-the-go breakfast/snack bars for the week with NO preservatives or junk.  They're all-natural, nutty delicious goodness, just the way I like.   They're kinda like Larabars, without the high price tag, and with even more goodness inside.

Behold.....

Ingredients:

1 c dates 1 c almonds 2 T flax seeds 3 T coconut flakes 1/4 c pepitas 2 T cacao powder 6 T tahini 1 T raw honey 1/4 c rolled oats 1/4 tsp vanilla extract 1/2 tsp cinnamon 1/4 tsp sea salt 1 T sesame seeds
1/2 T bee pollen (optional...but I love the crunchy b-vitamin rich addition!)
1 T cacao nibs (optional)
Soak the flax seeds in an equal amount of water for about 5 minutes while gathering the rest of the ingredients together. In a food processor, combine first the nuts and the dates and pulse until a rough chop. Then add everything else in. Pulse and then blend until a nice consistency. I like to let it go for a couple minutes. Grab a pinch of the mixture and see if it's nice and sticky. If it's not, just blend a bit more.
I like to press into a 8x8 pyrex baking dish. Press with clean hands until level and evenly distributed. Cover and let chill for 1 hour or so. Then, cut into 8 or 9 bars. Wrap individually and keep in the fridge. They would technically last for quite a long time, I'd imagine since all ingredients are fairly dry. In my home though, they don't last longer than a week. :)
Per bar:
288 cal 17 g fat 39.6 g sodium 30 g carbs 7 g fiber 17 g sugar 8 g protein

Thursday, July 18, 2013

DIY Essential Oil Cleaners

  • Essential Oils can be used for countless DIY projects around the house, from cleaning fruits and veggies to degreasing pots and pans, to keeping pests at bay.   I've found a few images around the web that are helpful in detailing out some recipes.   

My favorites: 

Floor Cleaning:  Cleaning bucket filled 2/3 with hot water, 1/4 c white vinegar and a few drops each of lemon and lavender oil.   It leaves a nice clean smell behind!

Laundry:   Add 10 drops of oregano and/or tea tree oil to your load for their refreshing smell and anti-bacterial properties

Fruits and veggies:  I normally use just plain warm water, a couple caps of vinegar and a few drops of lemon EO.  

P.S.  I am not affiliated with Young Living Essential Oils, but do think they are top-notch in terms of purity.   If anyone wants to purchase, let me know and I'll hook you up with Crystal at Soul Space!

Cheers & happy cleaning!


  • And...Pest Control in the Garden!

Tuesday, April 30, 2013

Adventures in {DIY Almond Milk}

I'm sitting here sipping my coffee with almond milk, as I do every morning.  The only difference is that the almond milk in my coffee is HOMEMADE, and SOoooo Delicious (pun intended).   :)


How I went 2.5 years buying store-bought almond milk in a carton, I have no idea.  So many other bloggers and even a good friend, Katie of Zenutrition make their own milk at home.  Finally, last week as I was ordering a few books from Amazon, I remembered to purchase a nut milk bag, which is a fine mesh bag used to separate the milk from the almond pulp.

Almond Milk (4 cups)
4 c filtered water (mine is distilled/mineralized)
1 c organic almonds
1/2 tsp cinnamon (optional)
2 tsp honey (optional)
1 tsp vanilla (optional)

Directions:

Step 1:   Cover almonds by 2 inches in filtered water overnight (8-12 hours). They will have plumped up by morning.   Drain and rinse. 


Step 2:  Put 4 c filtered water and 1 cup almonds into a blender and blend for 2 minutes, until almond chunks are fine and milk is frothy.  Mine even frothed up through the top of my blender!

During the blending....
 Step 3:  I found that the easiest way to strain and get the milk into an old milk bottle was this method:
Straining through the nut milk bag and funneling into the glass container.

Wring the nut milk out of the bag by twisting it and squeezing until pulp in the bag is fairly dry. 

Step 4 (Optional):   Take the strained milk and whizzz again if you're adding any flavorings like the cinnamon, honey and vanilla.  You can stir it in, but this is the most efficient way of mixing honey in.  You could also use liquid stevia and whatever else you'd like to flavor the milk.   I'm sure I'll eventually get creative and try savory milk flavors.

Finished product: delicious, pure, almond milk!

That's it!  Due to not having the added gums like carrageenan and guar gum, this milk will separate and require a shake prior to each use.  The container is from a local dairy producer, Caulders, and works perfectly.  Glass is an ideal storage method, as it won't leach any toxins or plastics into your precious finished product.

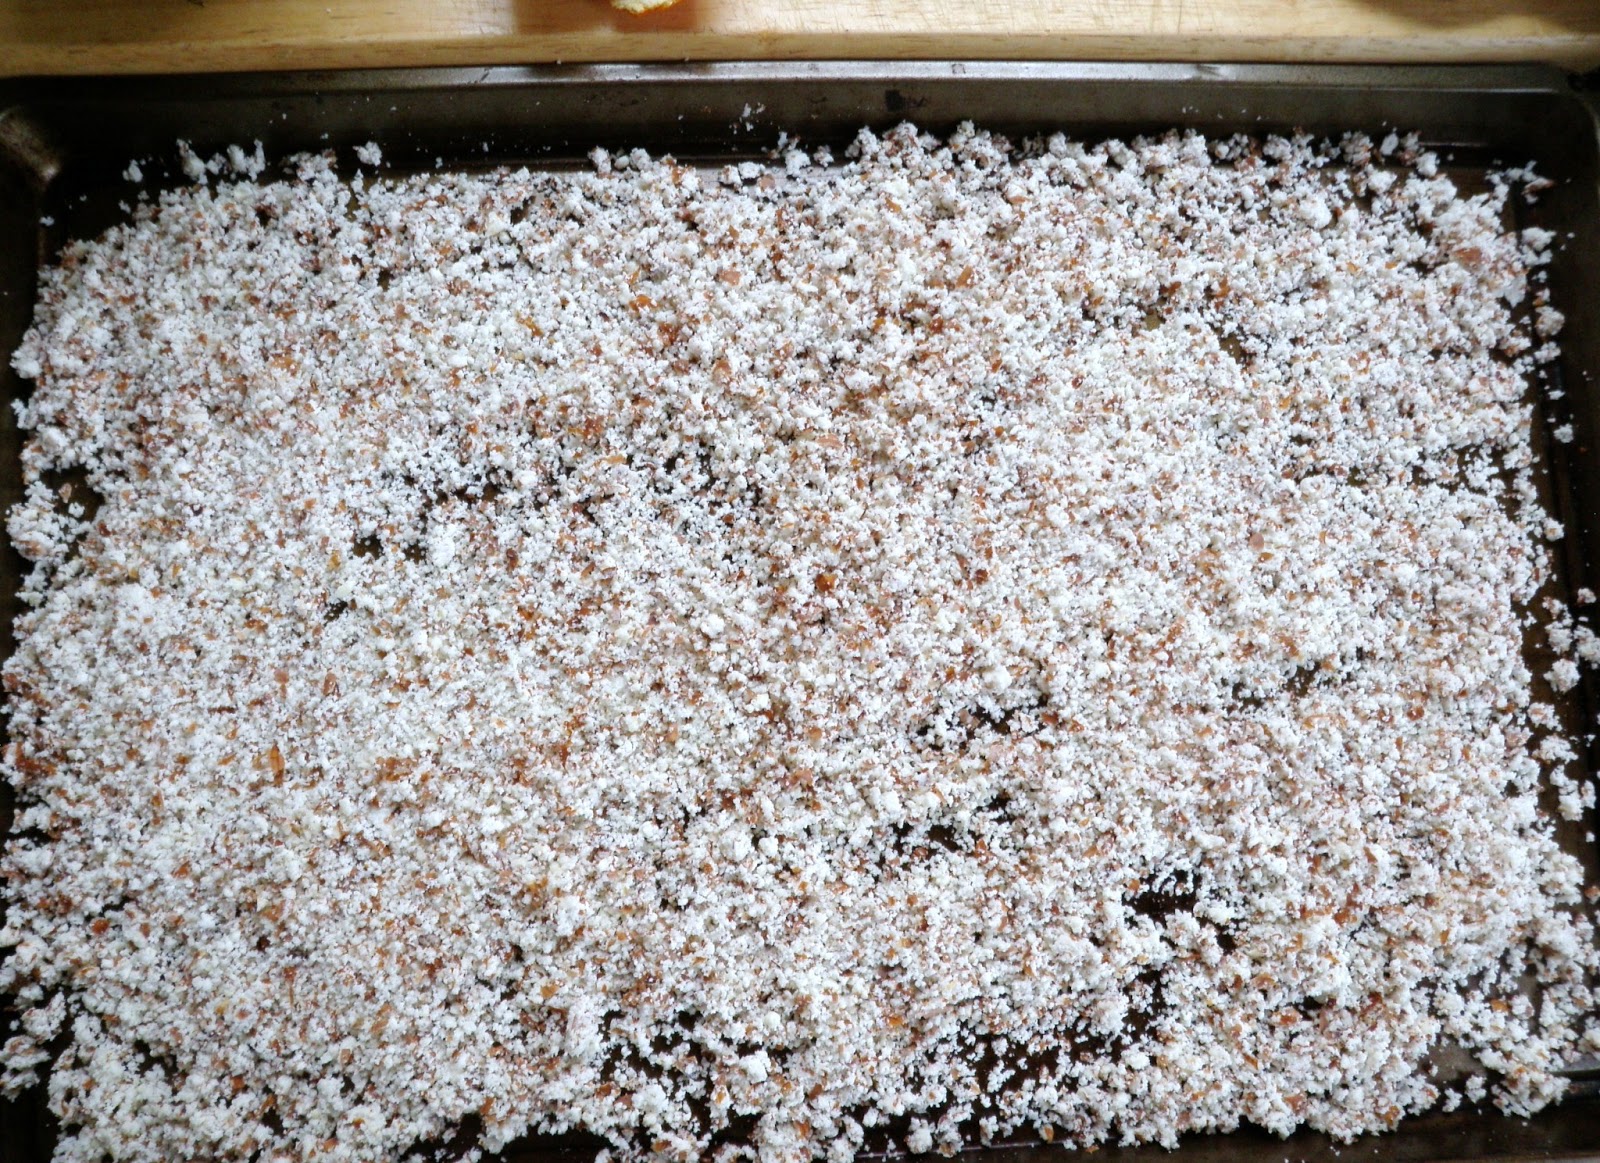
BONUS: the leftover pulp, which is being dried out in the oven at 170 degrees for a couple hours...can be used for baking!
So, this method of DIY is actually not more cost effective than buying it at the store.  If your almonds are $6.49 per pound like mine were, that works out to 3 cups of almonds (3 batches), each batch costing $2.19.  At the store, I normally pay $1.79 or so for 4 cups of almond milk.

However, the results are a rich, delicious, fresh milk that you know does not contain any additives or preservatives.  It's super easy to make and doesn't require the waste of purchasing a tetrapack container that will end up in a landfill somewhere.   Green it up and make your own!  Enjoy. 

Thursday, October 4, 2012

DIY Liquid Laundry Soap {Lavender}

I've been meaning to make my own all-natural laundry soap for a couple months now!  I saved the last two containers from store-bought gallons and ordered the supplies from Amazon. Tonight, while watching tweedle-dee & tweedle-dumb debate, I actually got to making the soap.  Here's the breakdown of what I used, and the cost per gallon.  Scent it however you like...I used lavender this time since that is the scent I normally buy.   I think the Fels-Naptha soap smells pretty nice on its own. <3  Enjoy!


Ingredients:
1 cup grated Fels NapthaSoap ($1.69)
1/3 cup Borax ($0.22)
1/3 cup Washing Soda  ($0.41)
4 drops lavender (or your choice) essential oil ($0.15)
Total Cost:   $2.47/gallon
Equipment: 
Empty laundry soap containers (gallon sized)
Box Grater
Large pot
Long-handled spoon
Funnel  (I need to buy one....I used a measuring cup...and it was messy!)

Step One: Pour 1 quarts (4 cups) of water into the pot
Step Two: Turn the stovetop burner temperature onto medium.
Step Three: Add the grated Fels Naptha soap to the water.
Step Four: Stir the soap mixture with the spoon over medium heat until the soap is completely dissolved.
Step Five: Add the Borax and the Washing Soda to the dissolved soap in the saucepan.
Step Six: Stir the mixture for a few minutes until the ingredients are thoroughly mixed and the solution thickens into a syrupy consistency. Do not allow the mixture to boil; if needed, reduce the stovetop temperature to maintain a slow simmer.


Step Seven:  - LET IT COOL a bit -   You don't want to pour hot liquid into BPA ridden plastic containers. ;)
Step Eight: Pour the dissolved soap solution into your gallon containers using the funnel to avoid spills.
Step Nine: Tightly cap the container and shake well to thoroughly mix the contents. Slowly add water to fill the gallons, capping & shaking a bit along the way and leaving a bit of space at the top.

NOTE:  This soap may be a little chunky.  Don't worry too much about that.  From what I've read and from my experience with my first load, it seems to work itself out in the wash. 
How to Use: Use a large cap-full of the liquid laundry soap to a load of laundry. This is a low-sudsing but effective cleaner.